
How to create stunning mini dessert cups for parties
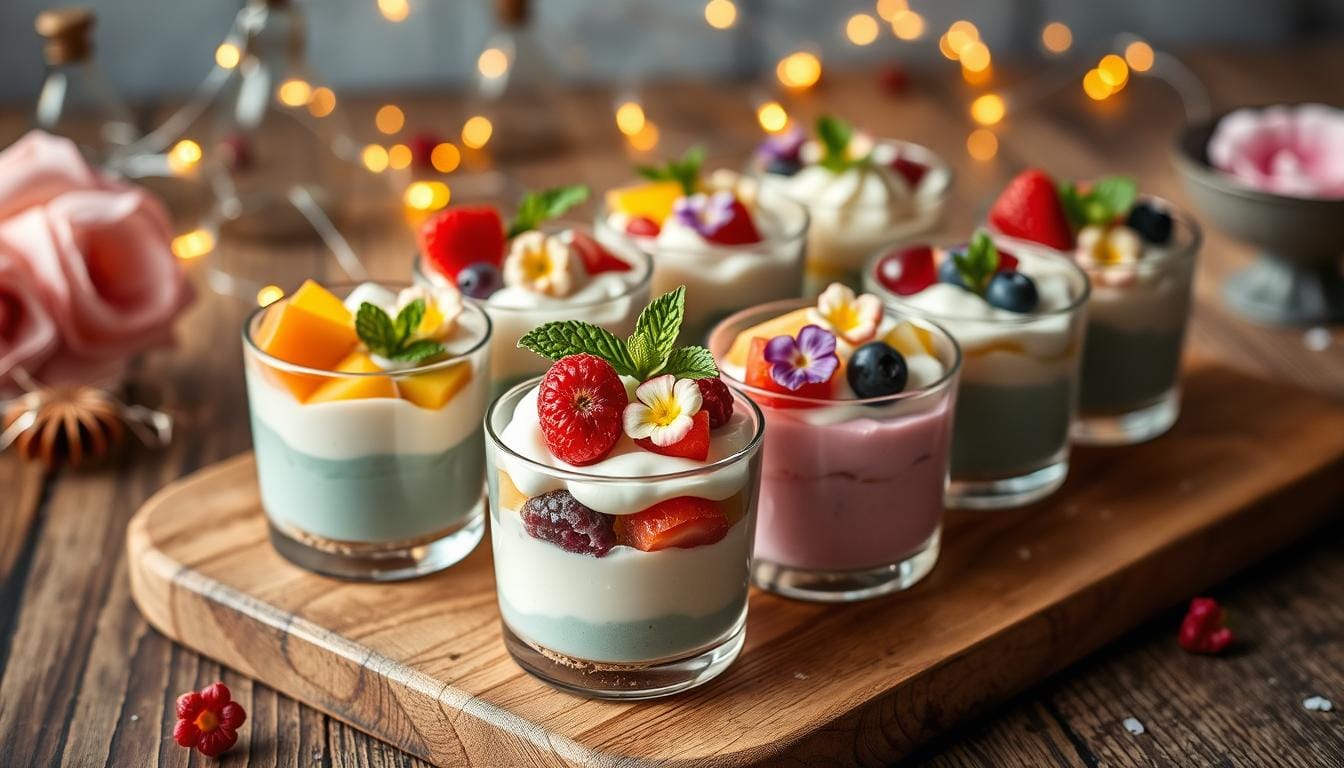
Imagine a table full of mini dessert cups that make everyone’s eyes sparkle. These small treats are more than just desserts. They turn any event into a special moment. Mini dessert cups are perfect for weddings, birthdays, or just getting together with friends.
Mini dessert cups have changed the way we serve at parties. They mix convenience with elegance. You can serve everything from chocolate mousse to fruit desserts. Their small size and beautiful look make them a hit.
Want to make amazing mini dessert cups? This guide will teach you everything. You’ll learn how to pick the right containers and make no-bake desserts. You’ll become a pro at making these tiny treats that everyone will love.
Table of Contents
Understanding the Appeal of Dessert Cups
Dessert in a cup has changed how we enjoy sweet treats at parties. These small treats are a hit with hosts and guests. They mix convenience with creativity perfectly.
Benefits of Individual Servings
Individual dessert cups are great for parties. They offer several advantages:
- Portion control made easy – each cup contains precisely measured servings
- Eliminates messy cutting and serving procedures
- Allows guests to sample multiple dessert cups recipes without overindulging
“Small servings, big memories” – Culinary Experts
Party Planning Advantages
Dessert cups are flexible for events. About 70% of hosts love them for their looks and ease.
- Prepares easily in advance
- Reduces serving time during events
- Creates an elegant, professional presentation
Portion Control Benefits
Dessert cups are a smart way to control food intake. They offer a 4-ounce serving size. This size lets guests enjoy their treat without too many calories.
| Serving Size | Typical Contents |
|---|---|
| 4 ounces | 1 tbsp crust, 2/3 cup filling |
| Individual Cup | Perfectly proportioned layers |
Dessert cups are perfect for any event, big or small. They’re versatile and charming. They’re a must-have for modern entertaining.
Essential Tools and Equipment for Dessert Cup Creation
To make delicious easy cup desserts, you need a few key tools. These tools turn your kitchen into a dessert zone. Whether you’re new or experienced, the right equipment makes making mini desserts fun and easy.
Must-Have Tools for Dessert Cup Preparation
- Piping Bags: Essential for creating precise layers and decorative toppings
- Food Processor: Perfect for making fine crumbs and crushing cookies
- Electric Mixer: Crucial for whipping cream and creating smooth mousses
- Measuring Cups and Spoons: Ensure accurate ingredient proportions
- Clear Plastic or Glass Cups: Showcase your layered dessert creations
You don’t need to spend a lot on tools for easy cup desserts. Many kitchen items can also be used for dessert preparation. An 8 to 9-ounce clear plastic cup is great for individual servings. It lets you make desserts that look amazing.
“The right tools can turn simple ingredients into extraordinary dessert experiences.”
When picking tools, look for ones that are versatile and easy to use. A standard plastic spoon fits well in the cup’s straw hole, making serving easy. With these tools, you can make up to 28 delightful two-ounce dessert cups at once.
Pro Tips for Tool Selection
- Invest in quality piping tips for decorative finishes
- Choose cups that complement your dessert’s aesthetic
- Opt for dishwasher-safe tools for easy cleanup
Creating memorable dessert cups is about being creative and using the right tools. Your tools help you make tasty, Instagram-worthy treats that will wow everyone.
Choosing the Perfect Containers and Presentation
Creating stunning mini dessert cups starts with the right container. Your choice can turn a simple treat into a memorable experience. Whether it’s a fancy wedding or a casual party, the right dessert cups make a big difference.
Exploring dessert cups ideas opens up a world beyond simple serving dishes. The container is key to the dessert’s look and feel. It’s part of the whole experience.
Glass vs Plastic: Selecting Your Ideal Container
Mini dessert cups come in different materials, each with its own benefits:
- Glass Containers:
- Elegant and sophisticated
- Let guests see the dessert’s layers
- Great for formal events
- Plastic Containers:
- Light and easy to carry
- Safe for outdoor use
- Often have lids for convenience
Size Matters: Choosing the Right Dimensions
For the best mini dessert cups, aim for 2-4 ounces. These sizes are ideal for:
- Cocktail parties
- Wedding receptions
- Dessert buffets
- Tasting different flavors
Decorative Elements to Enhance Presentation
Add a personal touch to your mini dessert cups with:
- Personalized labels
- Colorful mini spoons
- Edible flower garnishes
- Themed decorations
“The right container turns a simple dessert into a memorable experience.”
By choosing the right dessert cups, you create more than just a treat. You make a memorable experience that delights your guests and shows off your creativity.
Mini Dessert Cups: Basic Techniques and Assembly Tips
Making stunning dessert cups needs precision and creativity. Start your journey with easy cup dessert recipes by learning basic assembly techniques. These techniques turn simple ingredients into beautiful mini desserts.

- Begin with a solid crumb base from crushed cookies or graham crackers
- Use melted butter to hold the crumb layer together
- Press the base into your serving containers evenly
- Chill the base layer for 15-20 minutes before adding fillings
Professional chefs suggest using a piping bag for neat and precise layers. This method makes your dessert cups look as good as they taste.
“The secret to perfect dessert cups is patience and attention to detail” – Pastry Chef Michael Roberts
Layering temperatures are key in making dessert cups. Here are important timing tips:
| Layer Type | Recommended Chilling Time | Purpose |
|---|---|---|
| Crumb Base | 15-20 minutes | Stabilize foundation |
| Cream Layers | 1-2 hours | Set texture |
| Final Garnish | 30 minutes | Enhance presentation |
Your dessert cups will go from good to great by focusing on texture contrast. Add crunchy elements like toasted nuts, chocolate shavings, or fresh fruit. This will make your mini desserts exciting to look at and taste.
No-Bake Dessert Cup Recipes for Beginners
Exploring dessert in a cup is fun and easy. Easy cup dessert recipes are great for those who love to cook but don’t want to bake. These no-bake treats are simple to make and pack a big flavor punch.
Chocolate Mousse Variations
Chocolate fans will love these quick and rich dessert cups. A basic chocolate mousse needs just a few things:
- Dark chocolate chips
- Heavy cream
- Vanilla extract
- Optional toppings like crushed nuts or raspberries
Fruit-Based Options
Fruit-based dessert cups are a light and refreshing choice. Studies show 54.5% of no-bake recipes use fruit. Here are some tasty mixes:
| Fruit Combination | Base Ingredient | Preparation Time |
|---|---|---|
| Berry Parfait | Greek Yogurt | 10 minutes |
| Tropical Delight | Coconut Cream | 15 minutes |
| Peach Dream | Whipped Cream | 5 minutes |
Creamy Cheesecake Cups
No-bake cheesecake cups are a hit that’s easy to make. Creamy, tangy, and utterly irresistible, they’re ready in under 20 minutes.
“The beauty of dessert cups is their simplicity and endless potential for creativity!” – Pastry Chef Sarah Thompson
With these easy recipes, you’ll be a pro at no-bake dessert cups in no time. Try new flavors, have fun, and enjoy your tasty creations!
Advanced Layering Techniques for Stunning Presentations
Take your dessert cups from simple to stunning with advanced layering. It’s all about creativity, precision, and design.
“Presentation is an art form that transforms ordinary desserts into extraordinary experiences.” – Pastry Chef Inspiration
Professional dessert artists have a few tricks up their sleeves. They use these techniques to make mini dessert cups breathtaking:
- Diagonal Layer Technique: Tilt your cups while adding layers for a modern, asymmetrical look
- Color Contrast Method: Create vibrant visual impacts using complementary colors
- Texture Variation Strategy: Incorporate multiple textures for depth and interest
When you’re making your dessert, precision is key. Use squeeze bottles for patterns and clean lines. This helps you create designs that wow your guests.
Here are some pro tips for amazing mini dessert cups:
- Start with a stable base layer
- Build layers with contrasting colors and textures
- Use transparent cups to showcase your artistic layers
- Garnish with carefully selected decorative elements
Try mixing things up with crunchy nuts, smooth gelee, and delicate fruits. Aim for a feast for the senses that pleases both the eyes and taste buds.
Pro Tip: Prepare your layers in advance and chill them to ensure clean, defined separations between each delicious element.
Seasonal and Theme-Based Dessert Cup Ideas
Make your dessert cups special by matching them to seasons, events, and people. Dessert cups are perfect for any celebration, making your treats tasty and beautiful.
Holiday Specialties
Make your holiday parties special with themed dessert cups. Try a pumpkin spice mousse with cinnamon whipped cream for Thanksgiving. For Fourth of July, make red, white, and blue parfaits that shine with festive colors.
Wedding and Special Event Options
For special events, choose elegant dessert cups. Try champagne mousse with gold leaf or lavender panna cotta with local honey. These desserts will wow your guests and add a gourmet touch to your event.
| Event Type | Recommended Dessert Cup | Flavor Profile |
|---|---|---|
| Wedding | Champagne Mousse | Light, Elegant |
| Anniversary | Chocolate Raspberry Layers | Rich, Romantic |
| Corporate Event | Tiramisu Cup | Sophisticated, Classic |
Kid-Friendly Variations
Entertain kids with fun dessert cups. Try rainbow jello cups or a Cookie Monster blue vanilla pudding with cookie crumbs. These treats are colorful and fun, making kids happy.
- Rainbow Jello Layers
- Cookie Monster Pudding Cups
- Chocolate Dirt Cups with Gummy Worms
The key to great themed dessert cups is creativity – let your imagination guide you!
Dessert cups are all about making things personal. Whether it’s for a holiday, a special event, or just to brighten up your table, these treats will make your event unforgettable.
Storage and Make-Ahead Tips

Creating easy cup dessert recipes ahead of time can change your party planning. Smart storage lets you make your dessert cups early and avoid last-minute stress.
Here are key strategies for storing and preparing dessert cups:
- Refrigerate your dessert cups for up to 3 days before serving
- Use airtight containers to maintain freshness
- Keep delicate toppings separate until serving time
“Preparation is the secret ingredient to stress-free entertaining!” – Professional Chef
When preparing dessert in a cup, consider these pro tips:
- Prepare stable base layers 2-3 days in advance
- Add fresh garnishes like fruit or whipped cream just before serving
- Cover each cup tightly with plastic wrap to prevent flavor absorption
Temperature is key for your easy cup dessert recipes. Most are best served chilled. This keeps their texture and flavor good. Keep them cold and take them out 10-15 minutes before serving to warm them up a bit.
Pro tip: Some dessert cup parts can be made separately and put together fast. This saves time and keeps your desserts fresh for your guests.
Conclusion
Creating mini dessert cups has given you amazing skills. You can now make any gathering special with your desserts. These small treats let you show off your creativity and cooking skills.
There are countless ways to make dessert cups. They’re perfect for any event, big or small. You can make simple or fancy desserts, all delicious and memorable.
Don’t forget, how you present your desserts matters a lot. Choose the right containers and play with flavors. This way, your mini desserts will not only taste great but also look amazing.
Keep trying new things with mini dessert cups. Your unique ideas will make these treats unforgettable. They’ll be a hit with everyone who tries them.